

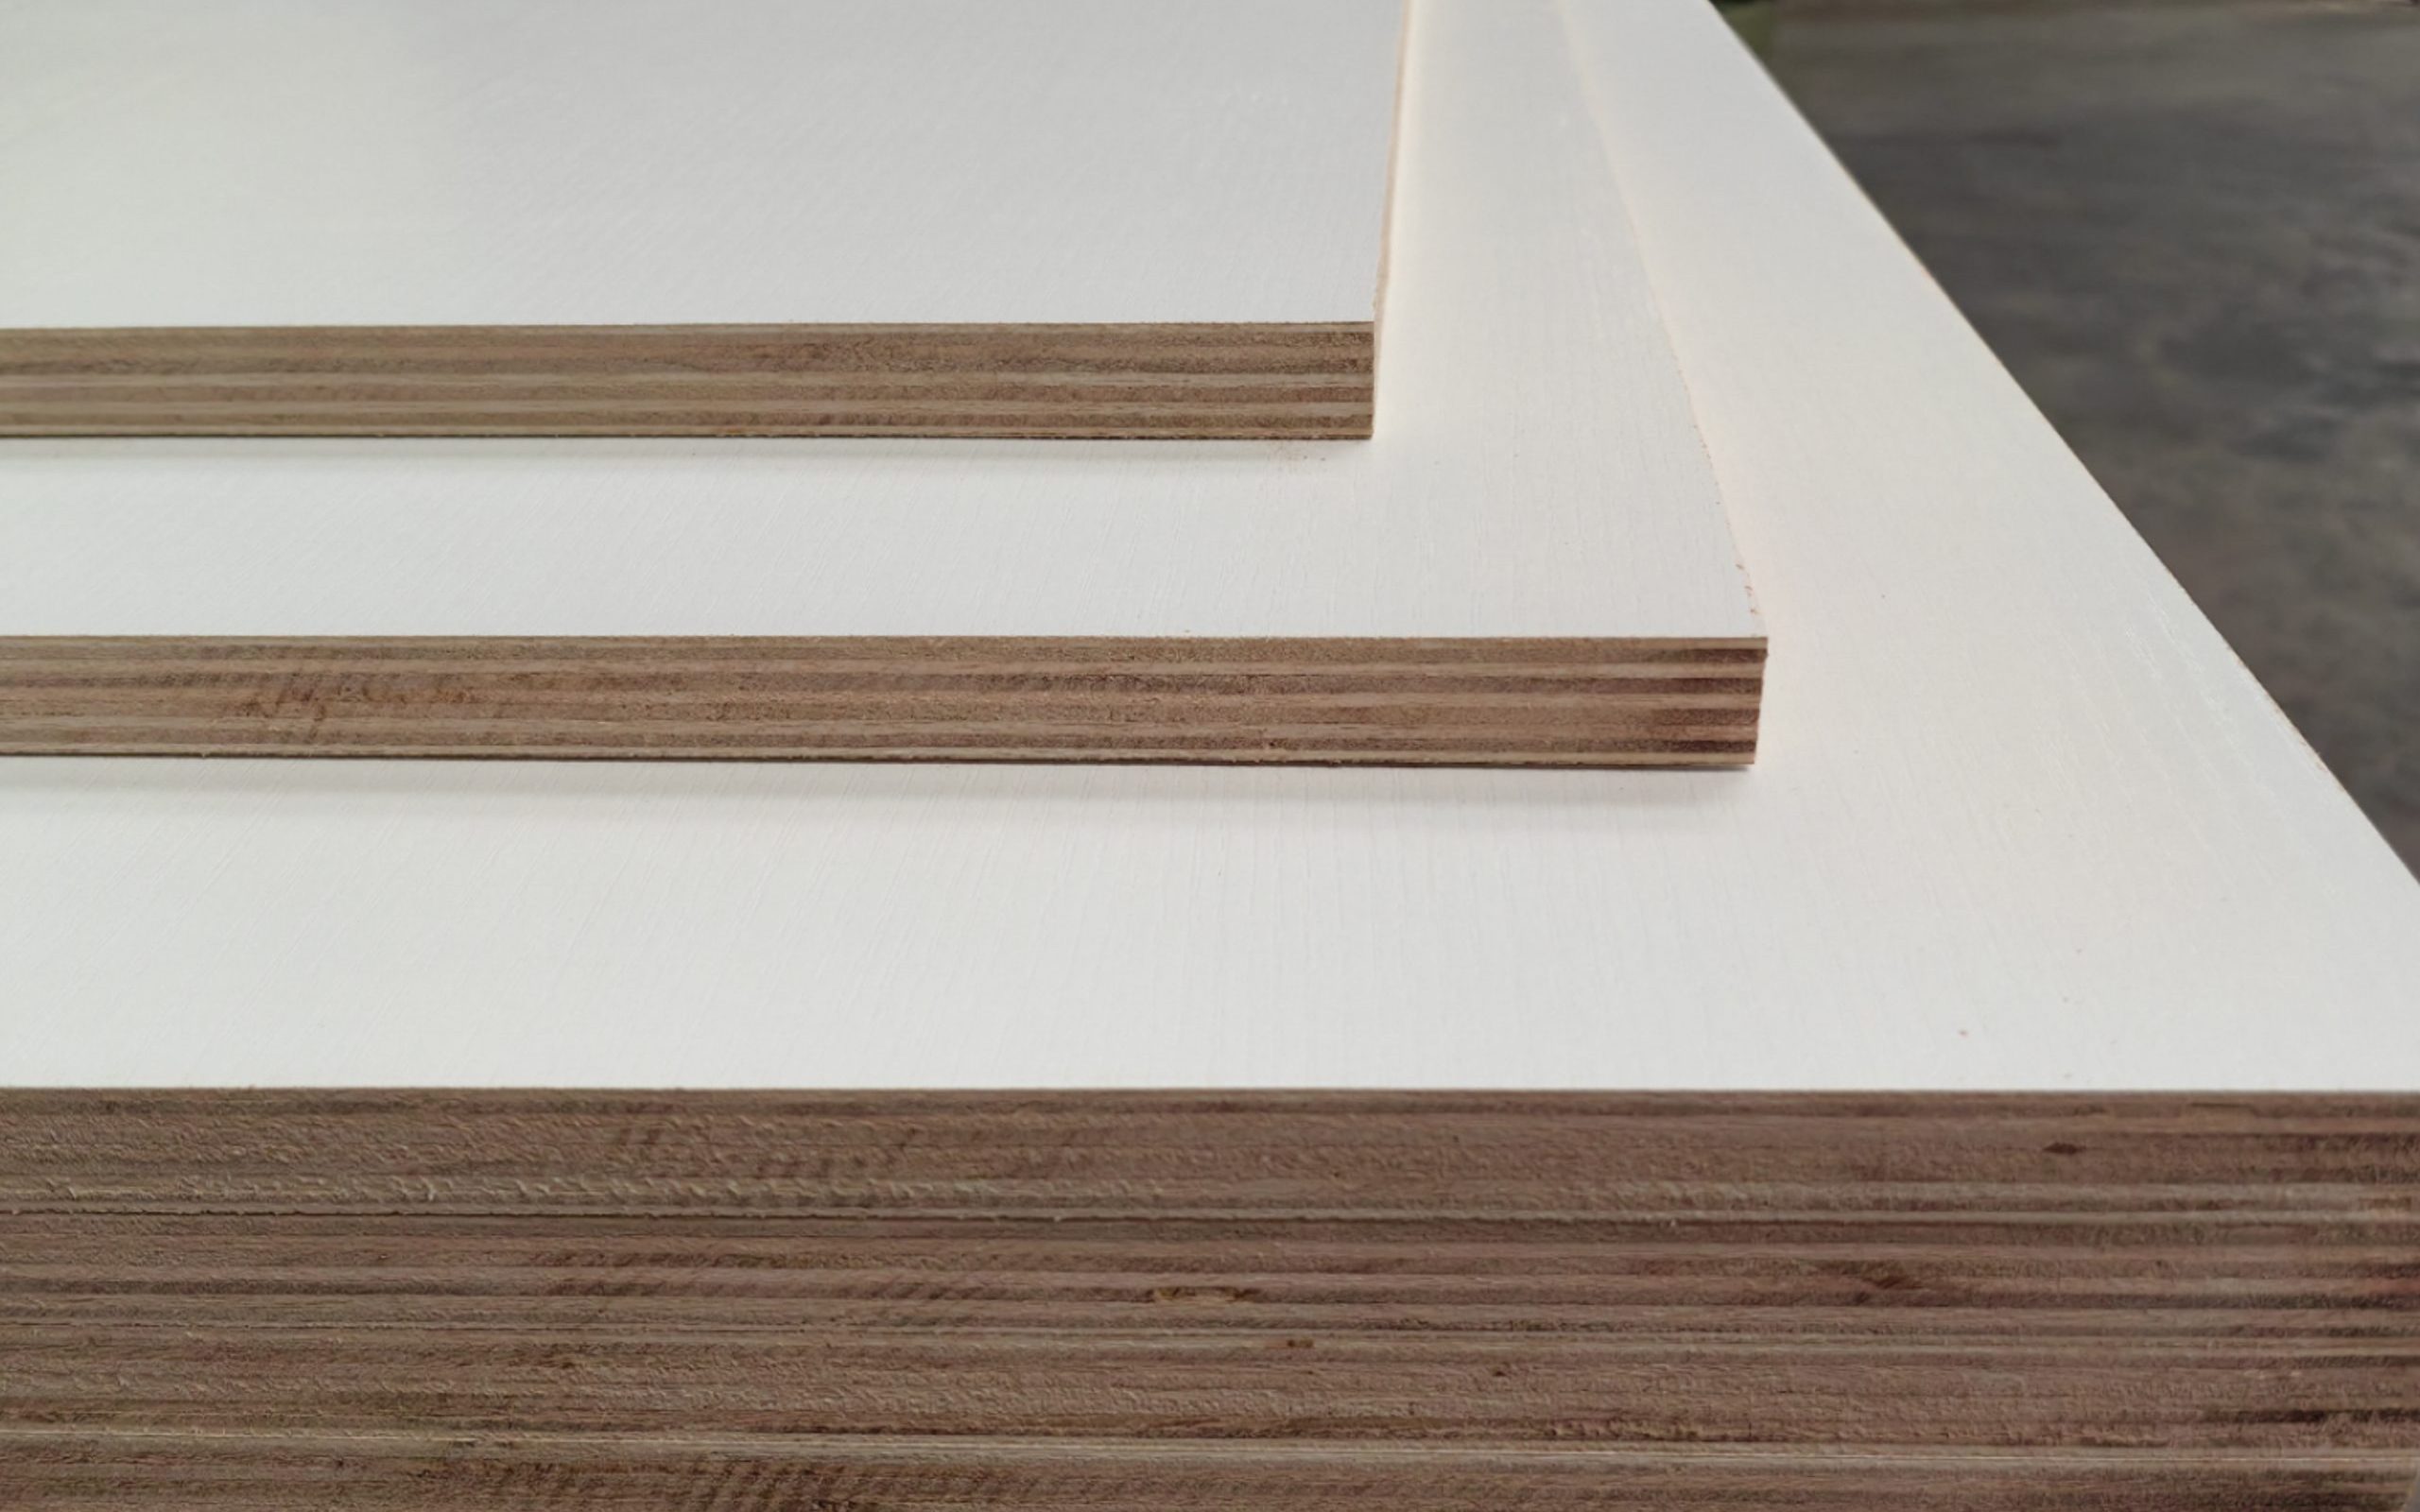
A plywood bundle can look excellent from the outside and still create trouble after cutting. Core gaps, overlapping veneers, weak glue lines and uneven thickness often stay hidden until production starts. For an importer, that is too late. The useful question is not whether a warehouse test can replace a laboratory. It cannot. The question is whether a small inspection team can catch obvious shipment risks before the container is loaded.
The answer is yes, provided the checks are tied to the purchase specification and recorded properly. This guide explains a practical plywood warehouse test routine for distributors, importers and furniture-material buyers.
The short version: sample across several bundles, measure before destroying anything, open selected sheets to inspect the core, use water tests only as comparisons, and keep numbered photo evidence. A dramatic test on one convenient sheet proves very little.
Start With the Contract, Not the Test
A warehouse team needs a reference before it can decide whether a result is acceptable. Confirm the ordered thickness and tolerance, sheet size, face and back grade, core species or agreed core construction, glue requirement, moisture range, emission requirement and packing method. Terms such as “good core” or “waterproof” are too vague for a claim.
For a new order, retain an approved cross-section sample as part of the Golden Sample. A full uncut board is useful for appearance, but the cross-section is what locks the core structure. Momentimber can help buyers turn a general inquiry into a workable commercial plywood specification before production starts.
Use a Sampling Plan That Can Find Problems
Do not test only the top sheet of the nearest bundle. Select bundles from different positions in the production lot. Within each selected bundle, take sheets from the top, middle and lower area where practical. Record the bundle number and sheet position before moving anything.
| Check | Low-cost tool | What it can reveal |
|---|---|---|
| Length, width and diagonals | Tape measure | Size errors and out-of-square sheets |
| Thickness | Caliper or micrometer | Average thickness, local variation and sanding inconsistency |
| Flatness | Straight edge and flat floor | Bow, cup and twist |
| Moisture | Calibrated pin meter | Wet areas and uneven conditioning |
| Core construction | Saw and sharp knife | Voids, overlaps, gaps, repairs and glue-line continuity |
| Bond comparison | Water, pan and timer | Obvious weak bonding under a controlled comparison |
Check Dimensions and Flatness Before Cutting
Measure thickness at several points away from the extreme edge, then repeat on multiple sheets. One average number can hide a board that is thick in the middle and thin near the corners. For buyers who laminate, veneer or CNC-machine the panel, local variation is often more disruptive than the bundle average.
Place the sheet on a known flat surface and observe bow, cup and twist. Then turn it over. If the shape changes quickly, storage support may be part of the problem. If many sheets hold the same deformation, moisture imbalance or panel construction deserves closer attention.
Open the Panel: The Core Is the Part You Cannot See
Cut strips from selected sheets and inspect both the cross-section and the freshly exposed inner veneers. Look for open gaps, overlapping veneers, bark pockets, unfilled repairs, loose core pieces and glue-starved areas. Core veneers also have grades. Higher-grade veneers are more continuous and evenly colored, with fewer open defects; lower grades show more knots, splits, repairs and color variation. The important point is not appearance alone, but whether the agreed core grade is consistent enough for the end use.
A light tap test can help locate suspicious hollow areas, but it is a screening method. Mark the sound, cut through that position and confirm what is actually inside. Never base a rejection only on sound.
Use Water Tests as Comparisons, Not as Certificates
A soak or boil test is tempting because it produces a visible result. However, water temperature, specimen size, edge exposure and test duration all change the outcome. Use identical specimens from the shipment and the approved sample, label them and run them together. Compare delamination length, glue-line opening and veneer failure after the same treatment.
This does not certify a product as exterior or marine plywood. Formal product classification requires the specified standard and qualified testing. The APA plywood overview is a useful reference for understanding why panel grade, bond classification and intended use must be considered together.
Build Evidence That Can Support a Decision
- Photograph every tested sheet with its bundle and sample number visible.
- Keep the measuring tool and reading in the same frame where possible.
- Retain failed and passed cross-section specimens in labeled bags.
- Record test conditions, start time and end time for water comparisons.
- Separate isolated cosmetic defects from repeated structural defects.
- Ask the supplier to review the evidence before loading whenever the result is uncertain.
What These Tests Cannot Prove
Warehouse checks cannot reliably determine formaldehyde emission, bending strength, modulus of elasticity or long-term bond durability. They also cannot transform an unclear purchase order into an objective claim. When compliance or structural performance is critical, send identified samples to a qualified laboratory and keep the chain of custody.
For ordinary furniture and distribution orders, the best value often comes from combining a clear specification, a Golden Sample, in-process photos and a disciplined pre-shipment inspection. That catches more real problems than buying a sophisticated instrument that nobody uses consistently.
FAQ
How many plywood sheets should be opened during inspection?
There is no universal number. Base it on lot size, risk and previous supplier performance. The key is to sample across bundles and positions instead of opening several adjacent sheets from one easy location.
Can a plywood boil test prove that the panel is marine grade?
No. It can reveal obvious bond weakness under the chosen test conditions, but marine or exterior classification depends on the applicable product standard, construction and certified testing.
What is the most useful low-cost plywood inspection tool?
A good caliper, tape measure, moisture meter and saw are more useful together than any single tool. The real improvement comes from repeatable sampling and labeled evidence.
Need a Practical Plywood Inspection Plan?
Momentimber works with importers on specification matching, production follow-up, sample approval, packing checks and pre-shipment evidence. Send us your plywood application and target specification, and we will help turn it into a workable inspection checklist before the order is produced.