

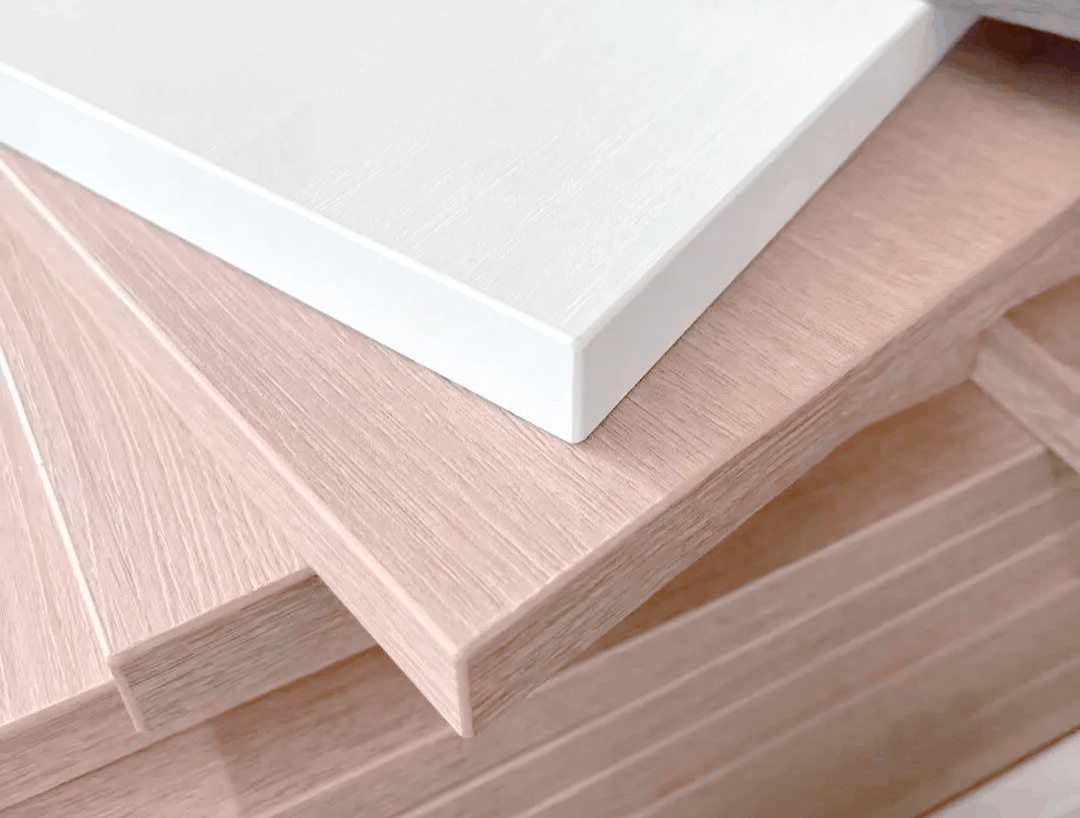
The first sample looked good. The edge tape sat flush, the corners were clean and the cabinet shop signed off the parts. A few weeks later, small bubbles appeared along some edges. That does not automatically mean the board was bad, the glue was wrong or the workshop was careless. Particleboard edge banding is a joint between a substrate, a prepared cut edge, an adhesive system, an edge tape and the conditions before and after processing. The failure pattern is the useful starting point.
For an importer or distributor, the commercial risk is bigger than one repair. A cabinet customer may question the whole lot, while the supplier and the processor each point to the other. The sensible response is to protect the evidence, identify when the bubbles appeared and compare the affected parts with a retained approval sample. That makes the next order better, whether the root cause is board condition, edge preparation, machine settings or warehouse exposure.
Key takeaways:
1. A clean edge at dispatch does not prove that every later bubble began in the board.
2. Melamine facing is the visible surface system; the particleboard core and its cut edge are a separate system.
3. Board moisture, a porous or damaged edge, dust, glue application, pressure and storage can all affect the same joint.
4. A short edge-banding trial on a Golden Sample is more useful than a general promise of “good bonding.”
5. Keep photos, lot labels, cut-off pieces and the process record before reworking disputed components.
A Bubble Is a Symptom, Not a Verdict
An edge band can lift or bubble because the adhesive did not wet the edge properly, because the edge was damaged during cutting, because the board and tape were conditioned differently, or because later moisture and heat stressed an already weak bond. The exact location matters. A continuous open line along one long edge suggests a different investigation from isolated bubbles at a cut-out, a failure only on one production shift, or swelling beneath a visibly intact band.
This is particularly important for melamine faced particleboard. The decorative melamine paper is pressed onto the face of a particleboard substrate. The face can look stable and easy to clean while the cut edge remains an exposed, more porous particleboard structure. Edge banding finishes that exposed edge for appearance and protection, but it does not turn an unsuitable core, an unprepared edge or a wet storage route into a waterproof panel.
| What you see | What it may mean | Do before changing the parts |
|---|---|---|
| A small bubble appears soon after banding | Dust, poor edge preparation, cold material, inadequate glue transfer or pressure may be involved. | Keep a cut-off, record the line and settings, and compare with the approved sample. |
| A long edge opens after warehouse storage | Moisture, uneven conditioning, storage exposure or a marginal bond may have added stress. | Photograph the stack, wrapper, floor and storage route before reworking. |
| Only one decor or board batch is affected | Substrate surface, edge density, thickness or a change in processing may need checking. | Hold the lot reference and compare board labels, dimensions and trial pieces. |
| The edge band remains bonded but the board swells beneath it | Water may have entered from an unsealed corner, cut-out, damaged edge or another path. | Inspect the complete component; do not judge only the decorative face. |
Start by Separating the Surface System From the Substrate
A buyer may call the whole sheet “melamine board,” but a useful order file names both systems. The surface system includes the decor, texture, gloss, side configuration and any matching edge band. The substrate system includes particleboard type, thickness, density range, moisture condition, flatness and edge quality. The Particleboard product page is the right place to start with the substrate; the Melamine Board page explains the faced-board range.
This distinction prevents a common claim mistake. If the melamine face is clean but the exposed edge is coarse, torn or locally crushed after sawing, the final edge-banding result may be limited by the cut edge rather than the decorative face. Conversely, a neat edge on a good particleboard core can still open when the tape, adhesive or component conditioning is not right. A fair review keeps both possibilities open.
What the board supplier can realistically control
The supplier can help define the substrate, confirm the agreed thickness and surface configuration, retain an approved sample, review visible edge quality on trial cuts and protect bundles from avoidable moisture during packing and loading. For a recurring furniture line, it is reasonable to request a representative trial component before bulk release. It is not reasonable to assume that a board supplier controls every glue setting, cutter condition or storage decision in an independent furniture workshop.
What the processor must keep consistent
The workshop controls the saw or pre-milling result, edge cleanliness, adhesive choice, application and pressure, feed conditions, tape handling and finished-component storage. Unilin processing guidance notes that decorative panel edging depends on sharp tools and correct settings, while its process sequence includes joint trimming before edge tape application. The practical lesson is simple: do not ask a fresh board to compensate for a blunt cutter or a contaminated edge.
Four Checks Before Blaming the Particleboard
1. Look at the raw edge, not only the finished edge
Keep one freshly cut piece before banding. Is the edge straight, square and reasonably continuous? Are there crushed particles, breakout, saw marks, dust build-up or visible gaps that reduce the available bonding area? A clean decorative face can hide a weak preparation step. A short trial that compares the first cut with a pre-milled edge can show whether the problem changes before the adhesive stage.
2. Check whether the failure has a time and location pattern
Ask when the bubble was first noticed: on the machine, after stacking, after a rainy delivery, after installation near a sink, or only after the finished cabinet moved to a hot room. Also map which side and which component failed. Repeated failures on one machine side or one shift usually deserve a processing review. Swelling around a sink cut-out or damaged corner points to a water path that cannot be understood from the banded edge alone.
3. Check storage before and after edging
Particleboard is a wood-based panel. Its broad faces may be protected by melamine, but an open edge, drilled hole or damaged corner deserves protection from wet floors, rain and prolonged high humidity. Keep board bundles flat, dry and supported. Keep finished parts away from direct water and do not move cold boards directly from an unheated store to a hot-melt edge-banding line without a practical conditioning check. This is not a laboratory exercise; it is a way to avoid creating avoidable variation in the joint.
4. Compare a current part with the Golden Sample
A Golden Sample should include more than a decor swatch. Keep one or more edge-banded components made from the agreed board, edge tape and process. The sample lets the distributor compare colour, texture, edge profile, bond appearance and the amount of pressure needed to lift a test strip. When an order changes substrate, decor supplier, tape thickness, machine or intended application, make a new trial instead of relying on an old approval.
| Practical check | Keep it simple | What it answers |
|---|---|---|
| Cut-edge review | Photograph a fresh edge at normal distance and close range before banding. | Was there an obvious preparation or substrate condition before adhesive was applied? |
| Trial component | Band a representative long edge and one corner from the approved sheet. | Does the specified board, tape and process work together under normal production conditions? |
| Storage review | Photograph bundles, supports, wrapping, floor condition and the first opened stack. | Did dampness, uneven support or temperature change affect the materials after dispatch? |
| Claim sample set | Retain an uncut offcut, an affected component, lot label and matching Golden Sample. | Can supplier and buyer review the same evidence instead of separate assumptions? |
The Board Specification Should Support the Edge-Banding Plan
A quote that says only “18 mm white MFC” leaves too much open. For a cabinet line, the buyer should state the substrate, thickness, decor code, texture or gloss where relevant, face configuration, intended component, edge-band material, visible-edge expectation and delivery storage limits. The article Three Layer Particleboard shows why face appearance and core performance should not be treated as the same specification.
Do not use a vague phrase such as “waterproof edge.” An edge band can reduce exposure and improve appearance, but its performance depends on the complete joint and the service environment. If the component is near a sink, floor-cleaning area or humid wall, state the exposure and detail every cut-out and termination that needs protection. EGGER worktop edge-banding guidance makes a relevant point: unprotected edges and cut-outs can swell under moisture exposure, including when the core has improved moisture resistance.
RFQ wording to adapt:
Melamine faced particleboard for [component], [size] x [thickness]. Substrate: [agreed board type and application]. Surface: [decor code, texture, gloss, single or double face]. Visible edges: [locations], to be processed with [edge-band type] after trial approval. Buyer and supplier will retain a Golden Sample including an edge-banded component. Packing must protect corners and keep bundles dry. Any change to substrate, decor, face configuration or agreed sample requires written approval before bulk production.
How to Handle a Bubble Claim Without Losing the Evidence
Do not immediately heat, clamp, trim or replace every affected edge. First take overview photos of the furniture part, then close images of the bubble, both faces, nearby cut-outs and the component label. Keep a protected sample from the same batch. Record when the part was cut, edged, stored and installed. If possible, keep the tape roll or a traceable tape label and note the machine line. These records help distinguish a repeated manufacturing issue from a local water event or a workshop setup change.
Momentimber can help coordinate sample approval, specification matching, production follow-up, inspection points, packing checks and loading evidence. Our company profile explains this supplier-service role. For a difficult claim, the goal is not to assign blame in the first message. It is to protect enough evidence that the next order has a clearer specification and the current issue can be reviewed fairly.
A Better Edge Starts Before the Edge Bander
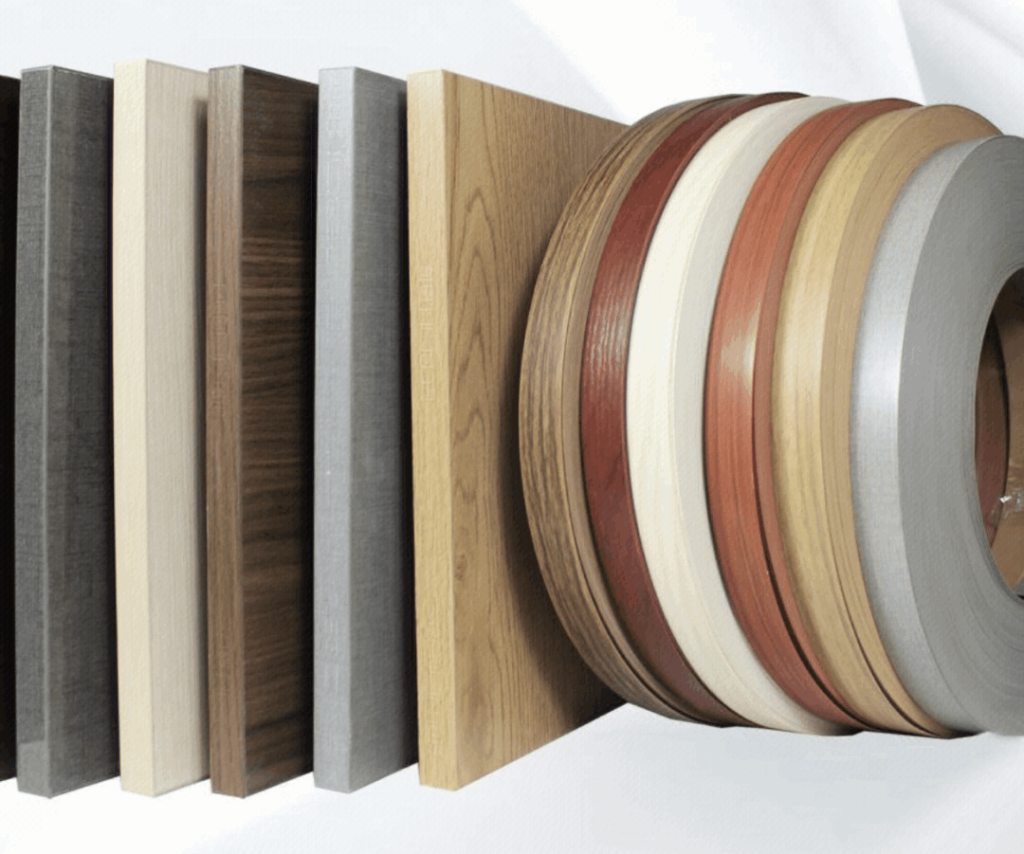
Particleboard edge banding is not a cosmetic afterthought. It is where a decorative face, a porous substrate, a cut edge and a furniture process meet. Buyers who specify only decor and price often discover the real requirements after installation. Buyers who approve a representative component, retain a Golden Sample and record storage and processing conditions can prevent many bubbles and resolve the remaining ones faster.
Send the panel construction, edge tape type, component drawing, photos of the failure pattern and destination storage conditions through the Momentimber contact page. We can help turn a general MFC request into a practical sample and order-control plan.
Related Reading
Sanded OSB for Furniture Still Needs a Finish Plan
OSB material reference only; sanding quality and the final finish need separate approval. Sanded OSB…
Plywood vs OSB for Crates Is More Than a Price Choice
Protected panel bundles are a supply-stage reference, not an approved design for a shipping crate….
Blockboard vs Finger Joint Board for Furniture Buyers
A visible timber-strip core does not make the finished panel the same as an exposed…

Synchronized Melamine Board Goes Beyond the Print
Woodgrain design reference only. A flat image cannot demonstrate EIR texture or alignment. Synchronized melamine…
Lightweight MDF vs Standard MDF for Furniture Parts
Panel appearance alone does not identify a lightweight MDF grade. Lightweight MDF can make a…
Film Faced Plywood Edge Sealing After Cutting
Film faced plywood edge sealing needs to follow the cutting and drilling plan. Factory edge…
Why Cam Locks Break Out of Particleboard
See how core structure, fitting geometry and a practical trial affect a different but related furniture-component failure.
Particleboard Swelling After Rain: Board Grade, Edges or Warehouse?
Follow the moisture paths and receiving evidence that help separate a swelling claim from a general board accusation.
Melamine Board Orders: Why the Same Decor Can Arrive With a Different Texture
Control decor, texture and edge-band matching on repeat orders before a visible furniture line becomes inconsistent.
Planning a melamine faced particleboard furniture line? Send the component drawing, decor, substrate, edge-band reference and destination conditions. We can help prepare a representative edge-banding sample and a clearer inspection record before production.
Contact Momentimber about particleboard and melamine board sourcing.